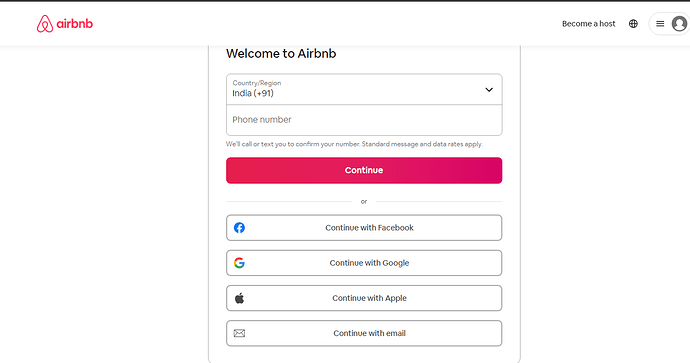
1. You can log in or sign up Airbnb with your phone number/ facebook / google/ email etc.
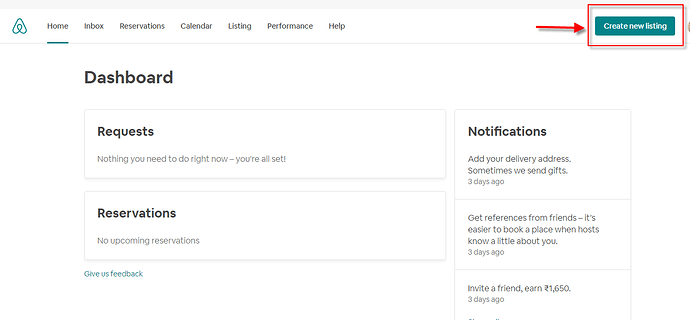
2. After you logged into Airbnb, you can find ‘create new listing’ button on the top right corner, just need to click that button.
3. Property and Guests
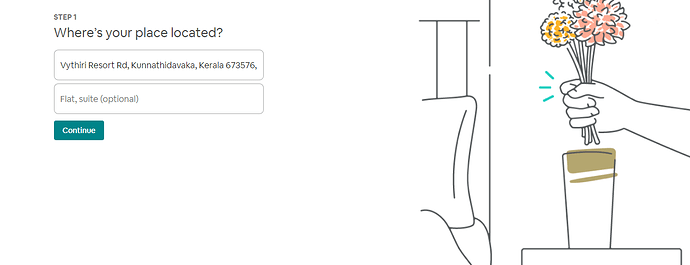
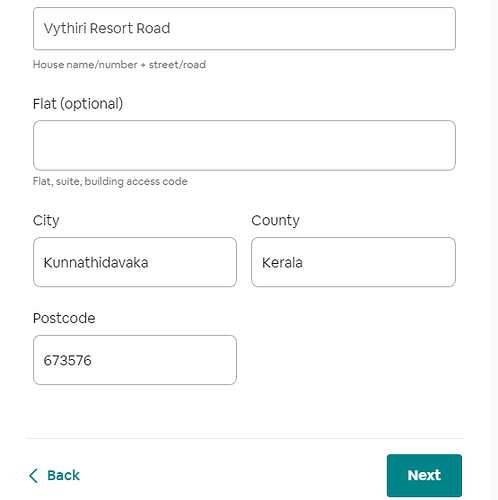
3.1 You need provide your address details here
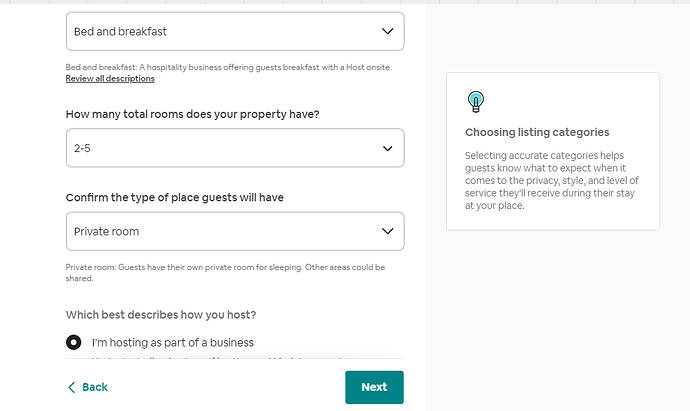
3.2 What kind of place are you listing? Choose a property type
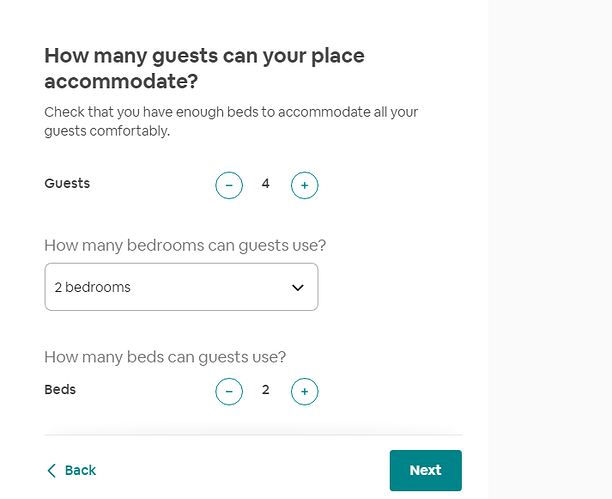
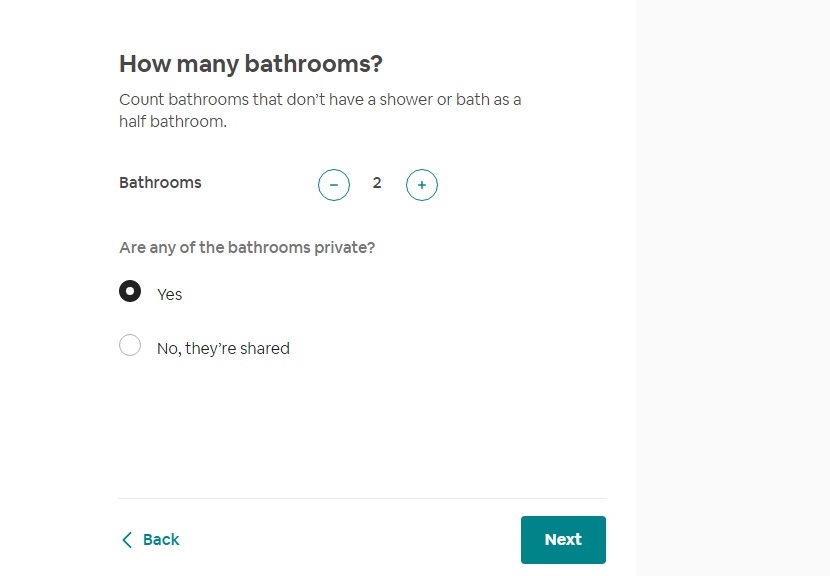
3.3 Number of Bedrooms and Beds to accommodate guests, also mention number of bathrooms
💬 Guest Q&A Assistant
Answer common guest questions automatically using your property information.
Try Demo →
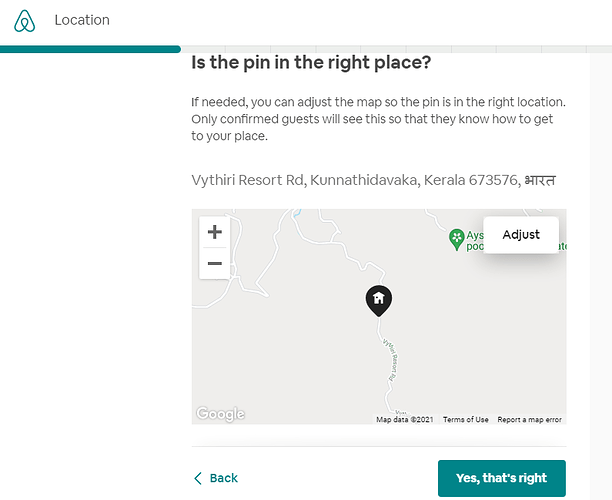
4. Location
Property full address with the right location in the map
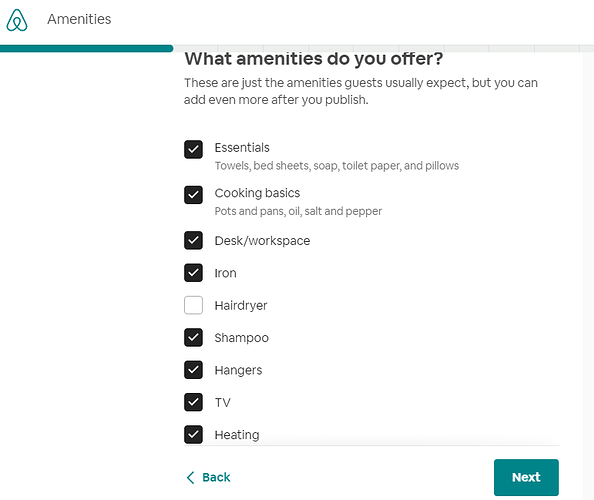
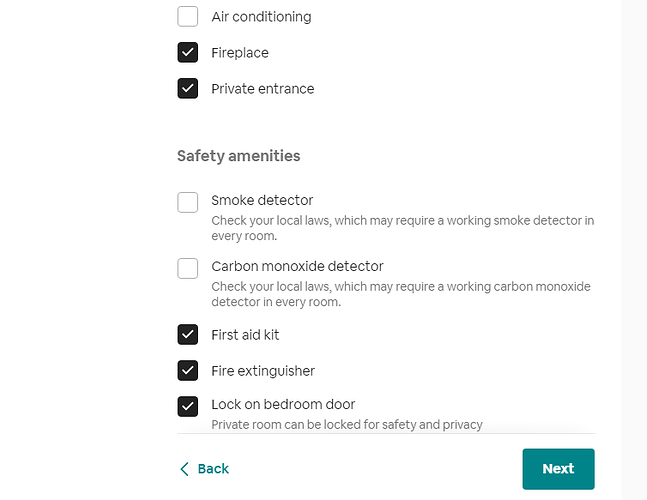
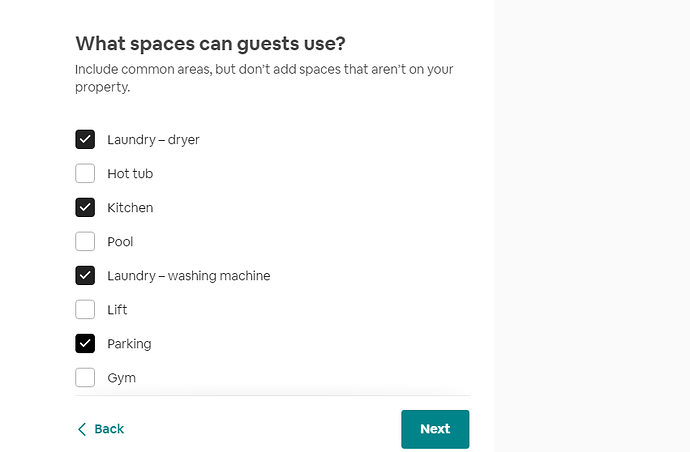
5. Amenities
Amenities and space do you offer?
💬 Guest Q&A Assistant
Answer common guest questions automatically using your property information.
Try Demo →
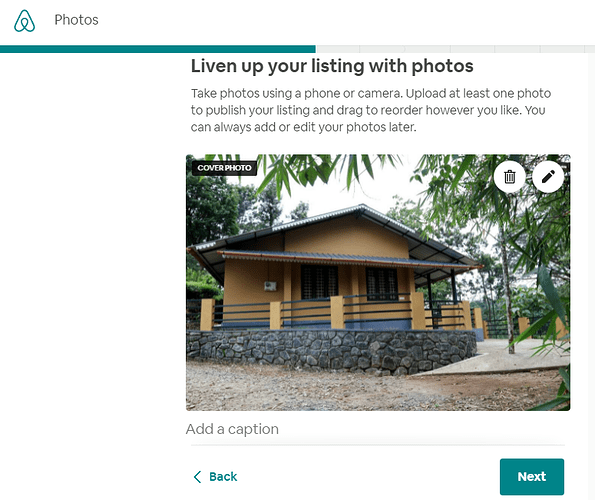
6. Photos
Upload photos
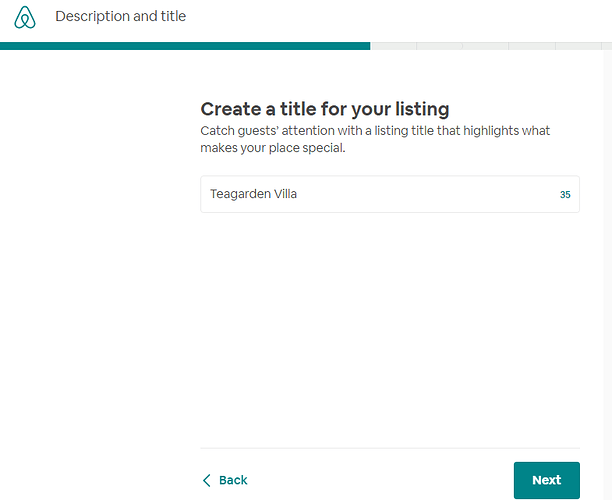
7. Description and Title
7.1 Description about your place

7.2 Title of your property
💬 Guest Q&A Assistant
Answer common guest questions automatically using your property information.
Try Demo →
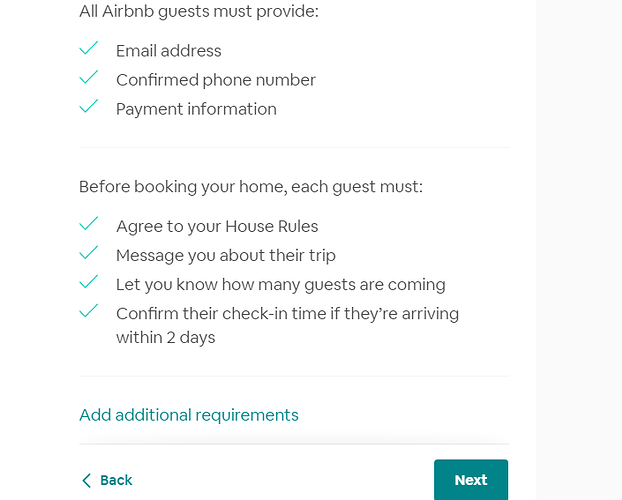
8. Booking Setting
8.1 Review Airbnb guest requirements that all guests must meet before they book.
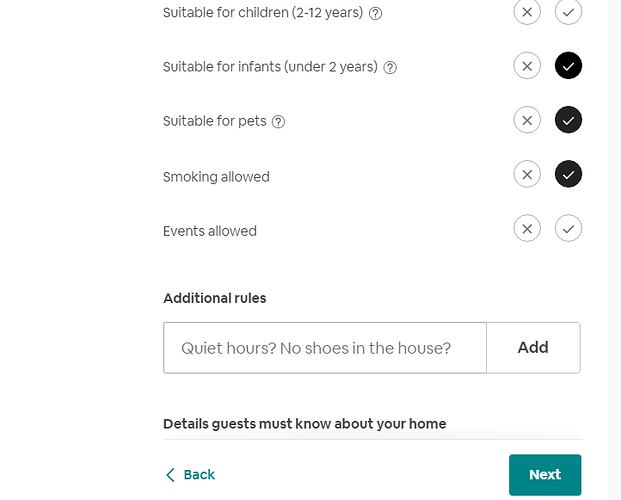
8.2 Set house rules for your guests
9. Calendar and availability
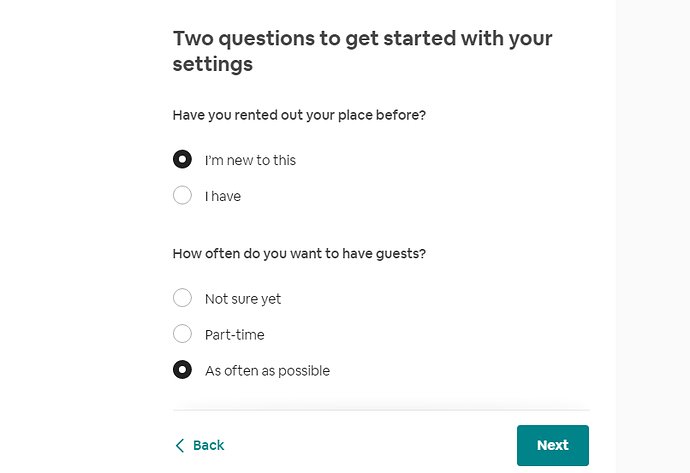
9.1 Two questions to get started with your settings
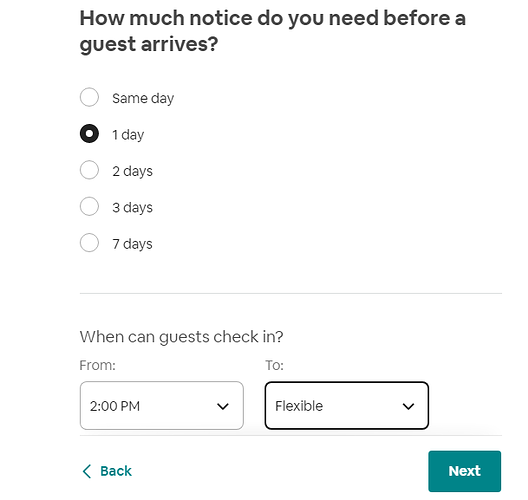
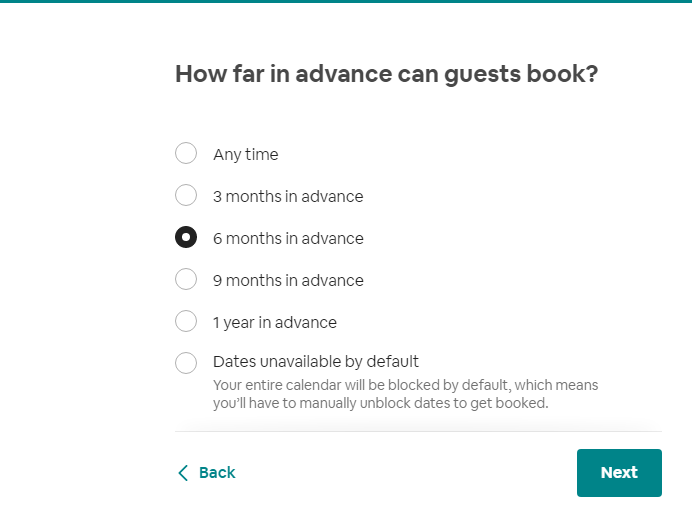
9.2 How much notice do you need before a guest arrives ,How far in advance and How long can guests book

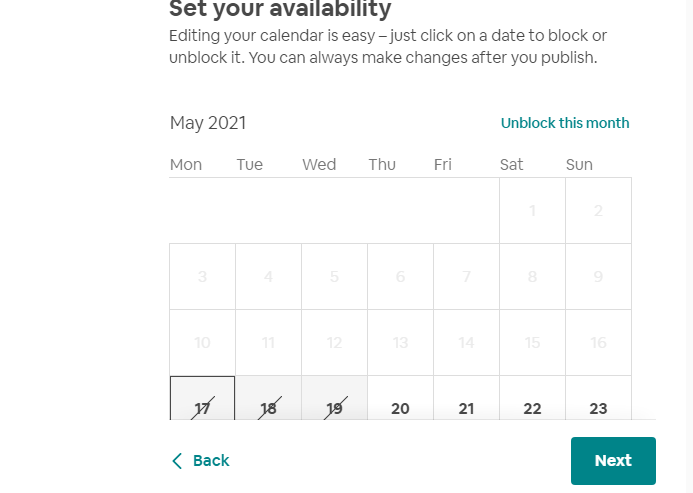
9.3 Set your availability
10. Pricing
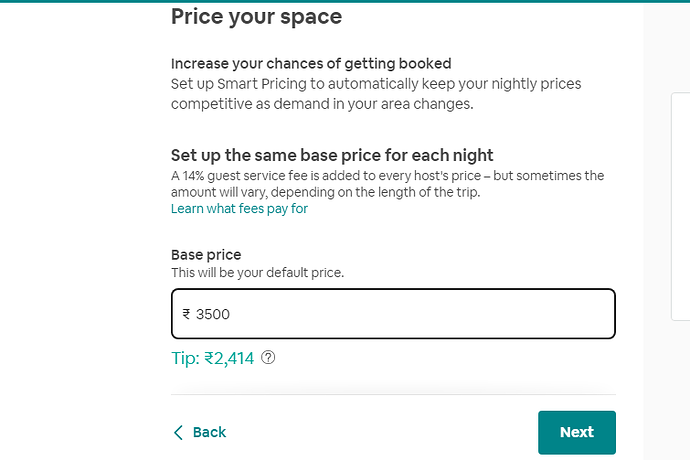
10.1 Set up price:- Either you can do Base pricing or Smart pricing. In Smart pricing, prices automatically go up or down based on changes in demand,season and other factors.So you need to add a minimum and maximum price.

10.2 And if you are selecting Base pricing, you just need provide a base price and that will be your default price.
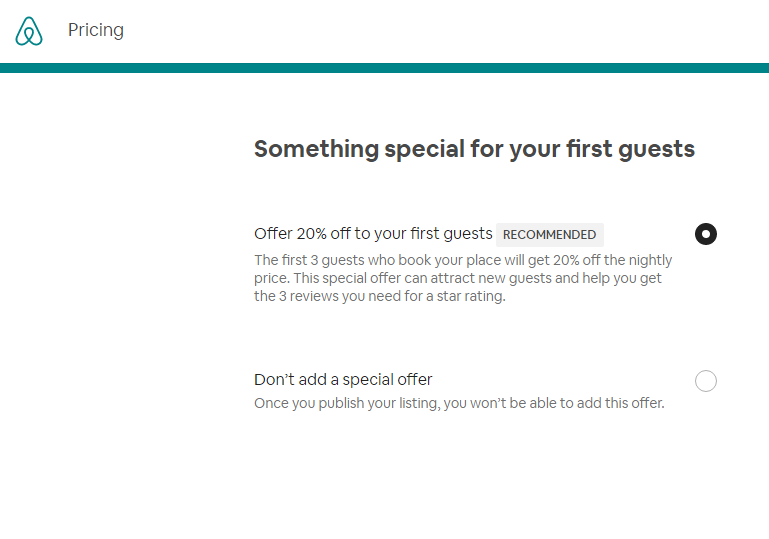
10.3 You can offer first 3 guests who book your place 20% off the nightly price
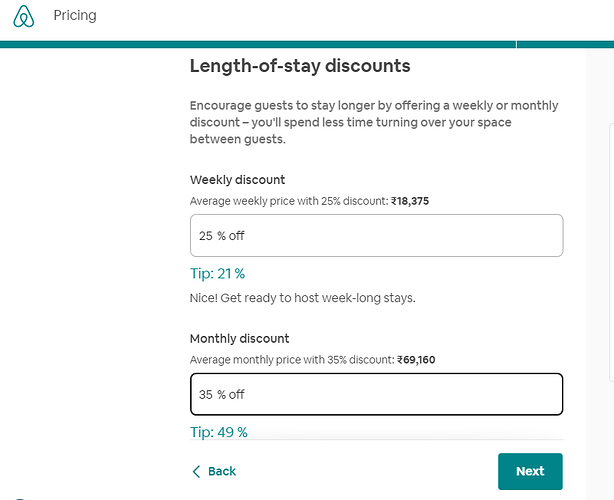
10.4 Weekly or Monthly discount for Lengthy stay guests
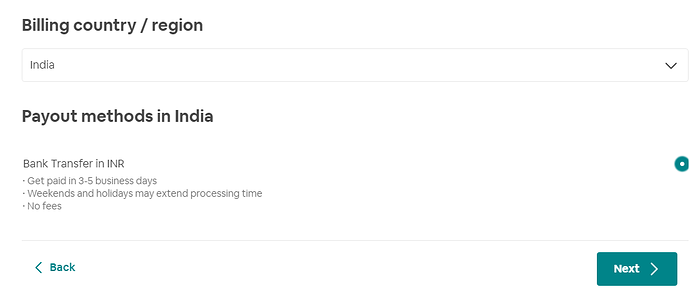
10.5 To get paid, you’ll need to add a payout method
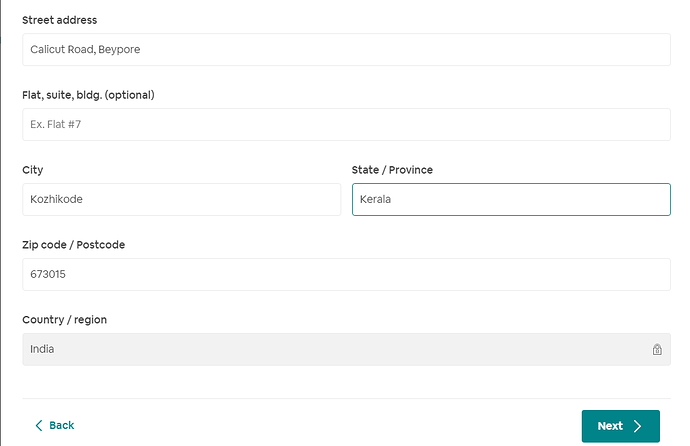
10.6 Add the address that the bank or financial institution has for this account – it might be different from your home or listing address.
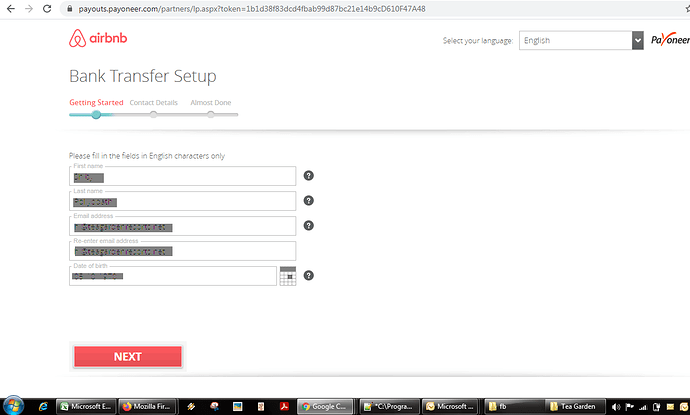
10.7 When you click Next in the next page, you will be directed to another website where you may securely enter your banking details.
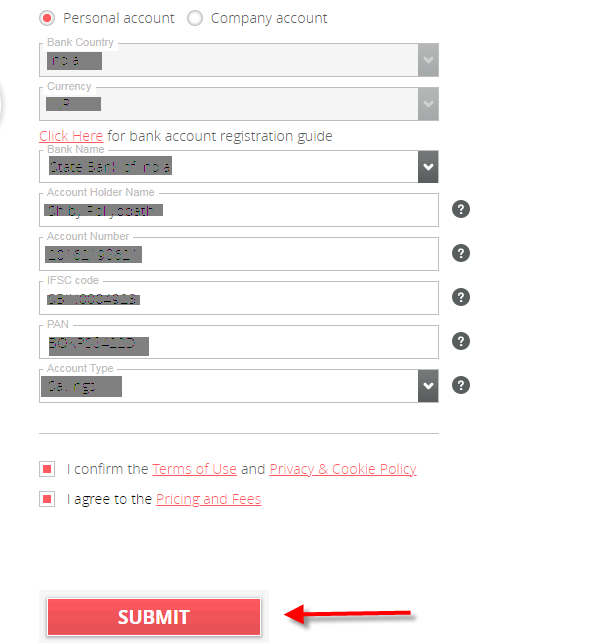
10.8 Click Submit after filling all the details and wait to get email from Airbnb about account approval
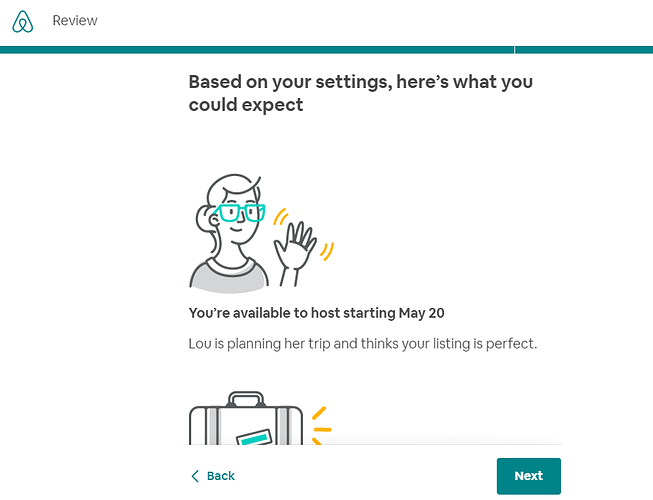
11. Review
Also you need to Click ‘Next’ Button in the below pages.

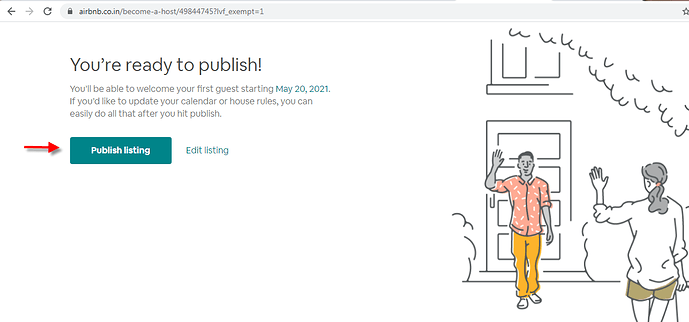
12. Publish Listing
Once you get email about bank account approval go to your listing page and Click ‘Publish Listing’